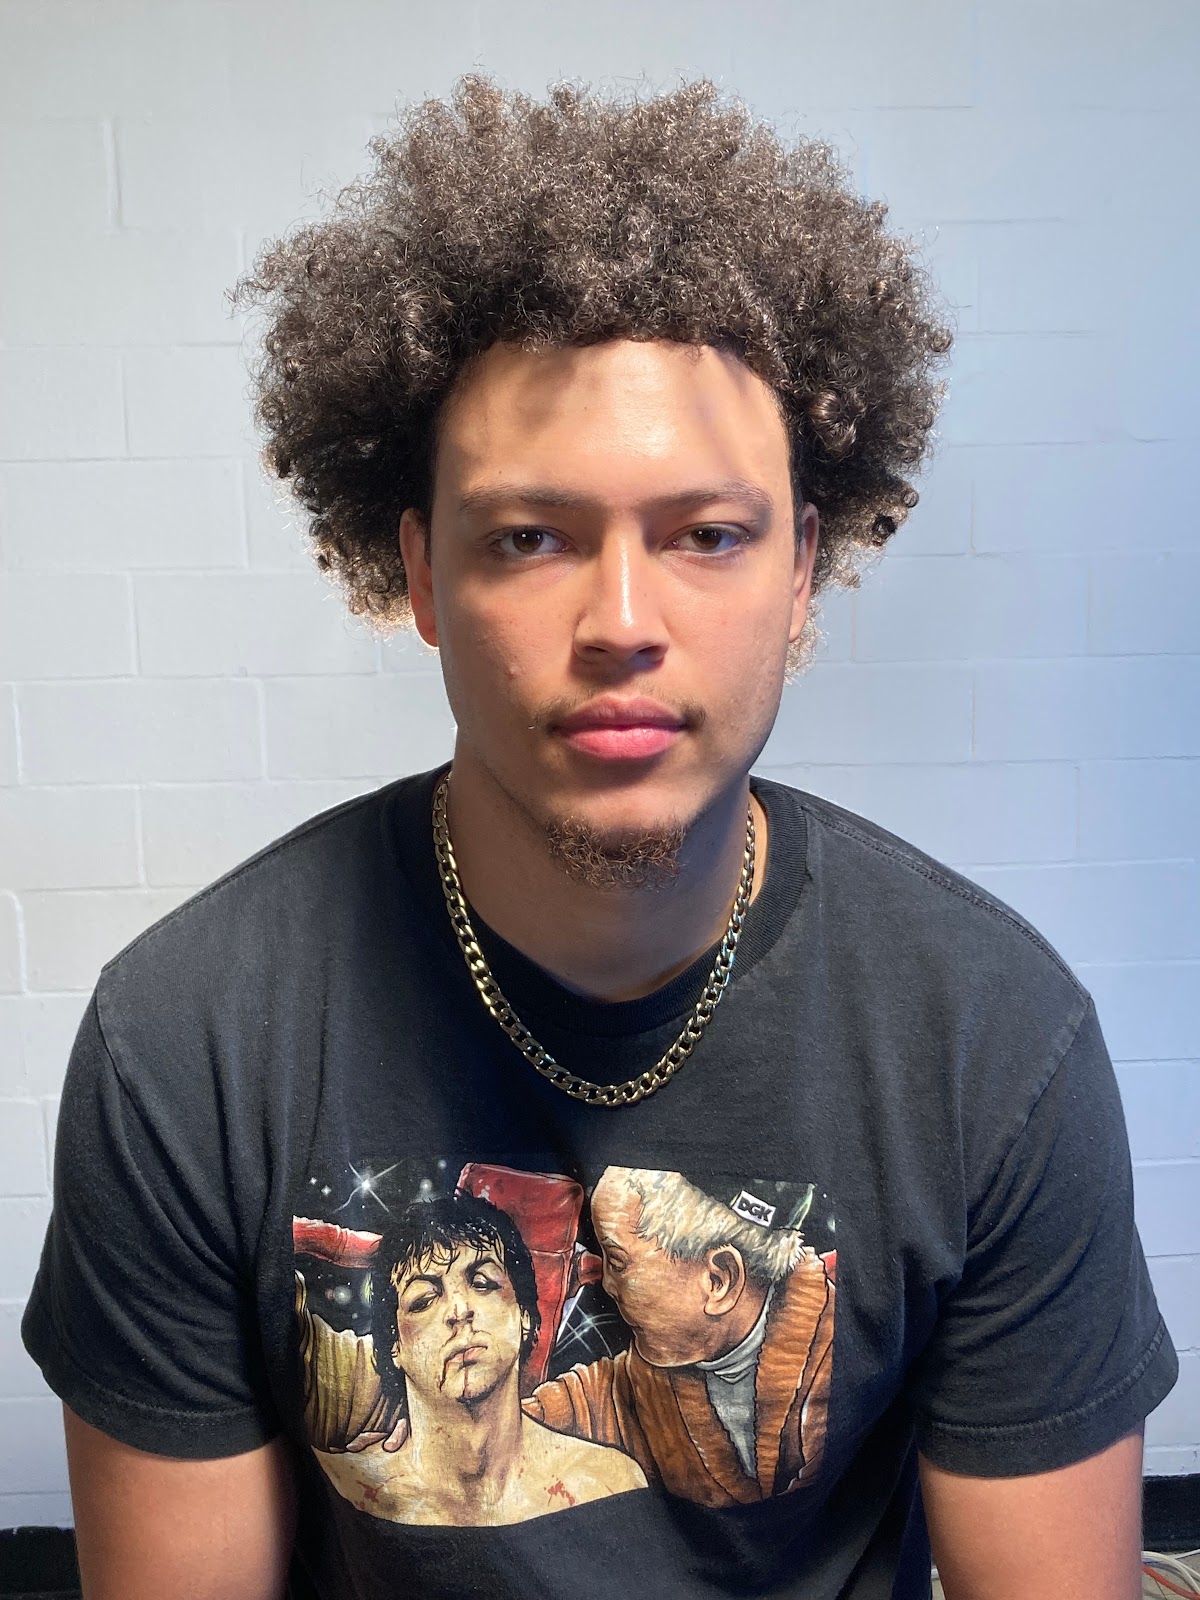
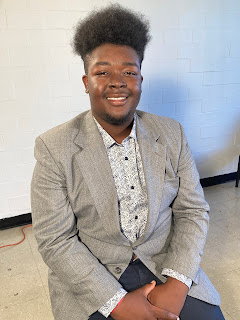
For this assignment, a classmate and I took pictures of each other doing five seperate lighting looks. These looks include: 1. Flat Frontal Lighting
2. 90 Degree/Side/Split Lighting
3. Butterfly/High Frontal Lighting
4. Rembrandt/45 Degree Lighting and 5. “Scary Face” Lighting.
Flat Frontal Lightning - Even lighting that produces very little depth and contrast.
90 Degree/Side/Split Lighting - Place the light to the side of your subject so that it shines directly at his/her face. The light should be at a 90-degree angle to the direction your camera is facing, whether its right or left. Put the light source slightly behind the subjects head. Move the light or your model until you manage to have exactly half face in the light and half in the shadows.
Butterfly/High Frontal Lighting - The key light is placed above and pointing down on the subject's face. This creates a dramatic shadow under the nose and chin that looks like a butterfly.
Rembrandt/45 Degree Lighting - A main light is placed at a 45 degree downward angle, in relationship to the subject's face, as well as a 45 degree angle to the side of the subject. The shadow created by the nose is cast over the upper lip to the corner of the mouth, also causing a triangular highlight on the opposite cheek.
“Scary Face” Lighting - Make sure all lights are off, then place a dim light under the subjects face. You should see shadows all around the subjects face, except for the middle part of his or her face.
Below are photos of my classmate Lawson Danley, showing each of these lighting techniques being used.
Flat Frontal Lightning
90 Degree/Side/Split Lighting
Butterfly/High Frontal Lighting
Rembrandt/45 Degree Lighting
“Scary Face” Lighting


